To install a Ring Doorbell, firstly charge the battery, then mount the bracket and attach the device. Ensure Wi-Fi connectivity for seamless setup via the Ring app.
Enhancing home security has never been easier, thanks to smart devices like the Ring Doorbell. This innovative gadget allows homeowners to monitor their doorsteps from anywhere using a smartphone. With straightforward instructions and minimal tools required, installing a Ring Doorbell is a task that can be completed quickly, making it a user-friendly solution for those keen on upgrading their home security systems.
Impact-Site-Verification: 8d31e5a3-9b5e-471c-9ebb-5e88567b525a
Impact-Site-Verification: e2e5b425-6aef-44c5-b0fb-991e542b93fb
The process involves charging the device, securing the mounting bracket, and connecting to your home Wi-Fi network. The convenience of DIY installation, coupled with the peace of mind it provides, makes the Ring Doorbell an attractive choice for savvy homeowners seeking to keep an eye on their property.
Choosing The Right Ring Doorbell Model
Upgrading home security starts with the front door. A Ring Doorbell offers convenience, monitoring, and peace of mind. Selecting the perfect model requires understanding individual security needs and the unique features of each Ring variant. Let’s explore how to match a Ring Doorbell to your home security goals.
Considering Your Security Needs
Determine key security features vital for your home. Consider video quality, night vision, and motion detection. Ask yourself important questions: Do you need a doorbell with professional monitoring options? Will you require a device with advanced motion detection? Make a list of must-haves.
Think about your living situation: A house might need a more robust system than a small apartment. Reflect on the environment, too. Homes in busy areas may benefit from higher-resolution cameras to capture clear images despite frequent movement.
Understanding Different Ring Doorbell Models
Ring offers a lineup to fit various preferences and budgets. Here’s a snapshot to help you compare:
| Model | Video Quality | Power Source | Unique Features |
|---|---|---|---|
| Ring Video Doorbell Wired | 1080p HD | Hardwired | Two-way talk, Advanced Motion Detection |
| Ring Video Doorbell 3 | 1080p HD | Rechargeable Battery | Adjustable motion zones, Privacy zones |
| Ring Video Doorbell 4 | 1080p HD | Quick-release battery pack | Color Pre-roll video, Improved Wi-Fi |
| Ring Video Doorbell Pro | 1080p HDR | Hardwired | Sleek design, Pre-roll video |
Each model comes with Live View and Real-time notifications. For homes without existing doorbell wiring, the battery-powered Ring Doorbells offer flexibility and ease of installation.
Advanced features like Pre-roll video, exclusive to Ring Doorbell 4 and Pro, add extra layers of security by capturing the few seconds before motion is detected. Weigh these options against your list of security needs to find your fit.
Gathering Necessary Tools And Materials
Before diving into the installation of your shiny new Ring Doorbell, it’s essential to have the right tools and materials at hand. Doing so ensures a smooth setup process without any frustrating pauses to search for that one missing screwdriver. Let’s ensure you’re fully equipped to get your Ring Doorbell up and running in no time!
Tools You Will Need
Having the correct set of tools is crucial for a hassle-free installation. Here’s a list:
- Power Drill – To make holes for mounting.
- Screwdriver – For securing the device.
- Level Tool – To align your doorbell perfectly.
- Bit Set – Drill bits for different wall materials.
Materials You Will Need
Alongside tools, certain materials are necessary:
- Mounting Bracket – Comes with your Ring Doorbell.
- Wall Anchors – Essential for a solid hold in the wall.
- Screws – Provided in the Ring package for installation.
- Charging Cable – To power up before mounting.
Preparing Your Home For Installation
Smart homes deserve smart security. That’s why preparing your home for the installation of a Ring Doorbell is a move towards a safer, more connected life. Let’s dive into the details of readying your home for your new device.
Checking Wi-fi Signal Strength
A strong Wi-Fi signal is a backbone of any smart doorbell. Test your Wi-Fi signal where the Ring Doorbell will live. Use your mobile or a Wi-Fi analyzer app to check the strength. Aim for full bars or a signal strength of at least -60 dBm.
- Find the best spot close to your front door.
- If signal is weak, consider a Wi-Fi extender.
- Make note of the Wi-Fi speed for later setup.
Measuring And Planning For Mounting
Proper positioning of your Ring Doorbell is crucial. Measure the mounting area to fit the dimensions of your Ring model. Ensure the doorbell has a clear view, not obstructed by decorations or fixtures.
| Step | Action |
|---|---|
| 1 | Determine the mounting height – usually around 48 inches. |
| 2 | Use the provided level tool for a straight installation. |
| 3 | Mark drill spots with a pencil using the mounting bracket. |
- Check for any wires or pipes before drilling.
- Plan for weather conditions – avoid areas that get too much sun or rain.
- Consider accessibility for future battery charging if needed.
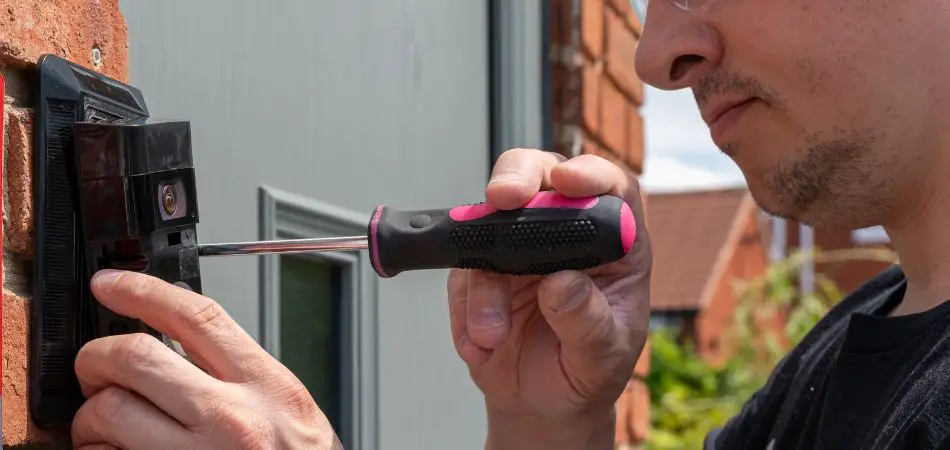
Installing The Ring Doorbell
Welcome to our step-by-step guide on installing a Ring Doorbell. Security is a top priority, and a Ring Doorbell can be an excellent addition to your home’s safety measures. Follow these simple instructions, and your home will be equipped with this smart security feature in no time.
Powering Off Your Existing Doorbell
Safety first! Before handling any electrical equipment, ensure the power is off.
- Locate your home’s circuit breaker or fuse box.
- Identify the switch controlling the doorbell’s power.
- Flip the switch to the “Off” position.
Use a non-contact voltage tester near the doorbell to confirm the power is off.
Mounting The Ring Doorbell
With the power safely off, it’s time to mount your Ring Doorbell.
- Choose the perfect spot for your Ring Doorbell. It should be about 48 inches from the ground.
- Level the mounting bracket using the built-in level tool.
- Mark the position of the holes using a pencil.
Drill the holes carefully if you’re mounting onto brick or concrete. If it’s wood, you can directly screw the bracket in place.
Attach the mounting bracket with the provided screws. Make sure it’s snug and secure.
Now, click your Ring Doorbell into place on the mounting bracket.
Connecting The Ring Doorbell To Your Wi-fi Network
Once your Ring Doorbell is mounted and charged, the next crucial step is connecting it to your Wi-Fi network. This will help keep your home secure and ensure that you have remote access to your doorbell’s video feed and notifications. Let’s simplify the setup process to get your device online smoothly.
Setting Up The Ring App
To start, you’ll need the Ring app on your smartphone or tablet. This app lets you control all your Ring devices.
- Download the Ring app from the App Store or Google Play.
- Create or log in to your Ring account.
- Select ‘Set Up a Device’ and choose ‘Doorbell’.
- Follow the in-app instructions to give necessary permissions.
Connecting To Wi-fi
With the app ready, your Ring Doorbell can now connect to the internet. This process ensures your device stays online and operational.
- Ensure your Wi-Fi is working and has a stable connection.
- In the Ring app, select your doorbell, then find ‘Device Health’.
- Tap on ‘Change Wi-Fi Network’ or ‘Reconnect to Wi-Fi’.
- Press the orange button on the back of your Ring Doorbell.
- Connect your smartphone to the Ring Doorbell’s temporary Wi-Fi network.
- Choose your home Wi-Fi network and enter the password.
- Wait for the setup to complete.
Your Ring Doorbell will now be connected to your Wi-Fi network. A solid blue circle on the doorbell indicates a successful connection. With your Ring Doorbell online, you can enjoy peace of mind knowing your home is more secure.
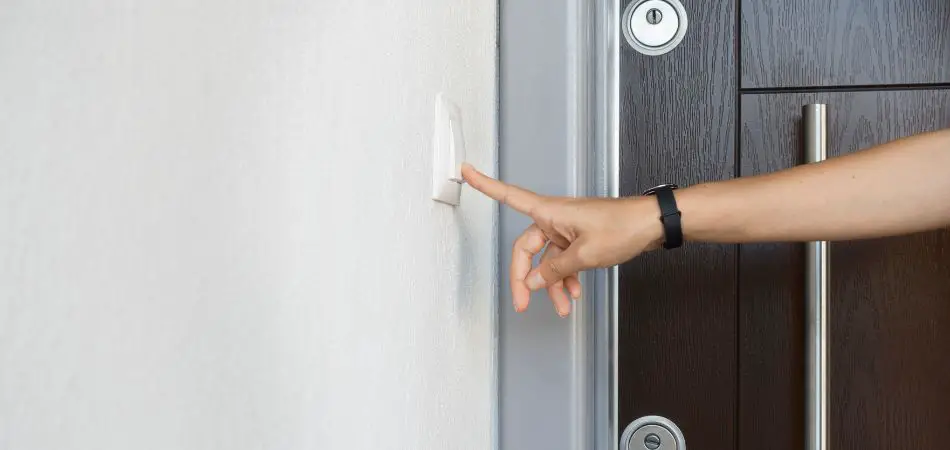
Testing Your Ring Doorbell
After installing your new Ring Doorbell, it’s essential to make sure it works correctly. Testing functionality ensures your Ring Doorbell provides the security and convenience you need. Follow these simple steps to confirm your device is ready to use.
Checking Video And Audio Functionality
To test video and audio, complete these tasks:
- Open the Ring app on your smartphone.
- Press the ‘Live View’ button to check the video feed.
- Verify video clarity during both day and night.
Confirm audio quality by having someone ring the doorbell while you listen.
Ensure you can speak and hear clearly through your mobile device.
Adjusting Motion Detection Settings
Personalize your motion settings following these instructions:
- Launch the Ring app.
- Select your Ring Doorbell from the list of devices.
- Tap on ‘Motion Settings’ to adjust detection zones.
- Set up the zones based on your home’s layout.
Remember to save changes and test different sensitivity levels for optimal performance.
Customizing Your Ring Doorbell Settings
Once your Ring Doorbell installation is complete, you get to personalize it for your home. Customization meters your needs for security and convenience. Each setting fine-tunes how your Ring Doorbell operates. Follow our guide to make your doorbell work best for you.
Setting Up Chime Alerts
Setting Up Chime Alerts
Chime Alerts notify you when someone presses your doorbell. Customize them through these steps:
- Open the Ring app on your smartphone.
- Select your Ring Doorbell device.
- Tap on ‘Device Settings’.
- Choose ‘Chime Tones’.
- Pick a tone that you like and save the setting.
Creating Motion Zones
Creating Motion Zones
Motion Zones control the areas your Ring Doorbell monitors. Setting them helps reduce false alarms:
- Navigate to the ‘Device Settings’ in your app.
- Go to ‘Motion Settings’.
- Tap on ‘Motion Zones’.
- Adjust the zones by dragging the points on your screen.
- Name each zone for easy identification.
Remember: Proper zone setup ensures your doorbell’s sensors are effective.
Integrating Your Ring Doorbell With Smart Home Devices
Integrating Your Ring Doorbell with Smart Home Devices takes your home security to the next level. A well-connected doorbell offers more convenience and control. Discover the seamless methods to connect your device with popular smart home systems.
Connecting To Alexa Or Google Assistant
Easily link your Ring Doorbell to virtual assistants like Alexa or Google Assistant. This integration enables voice commands for your Ring device. Follow these simple steps:
- Open the Alexa app or Google Home app on your smartphone.
- Select ‘Add Device’ and choose ‘Ring’ as the device type.
- Follow the app prompts to log in to your Ring account.
- Authorize the connection to access your doorbell’s features.
Once connected, try commands like “Alexa, show the front door” or “Hey Google, talk to the visitor at the door“. These actions bring the power of your voice to your front doorstep.
Exploring Third-party Integrations
Beyond the big names, your Ring Doorbell also meshes with other devices. Look into third-party integrations for a tailored smart home experience. Here’s how to get started:
- Check the compatibility of your third-party device with Ring.
- Use the respective app to add the Ring Doorbell, similar to Alexa or Google integration.
- Customize settings to fit your home’s needs and preferences.
Examples of third-party integrations include smart locks and home automation systems. When these devices work together, they create a harmonized and efficient home environment.
Understanding Ring Protect Plans
Before diving into the installation of your new Ring Doorbell, it’s key to grasp the extended features available with Ring Protect Plans. These plans not only offer additional peace of mind but also enhance the functionality of your Ring device. Let’s delve into the benefits these plans offer and how to subscribe.
Benefits of Ring Protect Plans
Benefits Of Ring Protect Plans
The Ring Protect Plans come packed with features that bolster your home’s security. Each plan provides unique advantages.
- Video Recording: Capture and save videos to review anytime.
- Sharing Options: Share clips with neighbors or on social media.
- Snapshot Capture: Get a visual timeline to see what happened and when.
Those lovely moments when the kids meet the delivery person, or your pet discovers a new friend are all recordable and shareable. In the higher tier plan, more advanced features like professional monitoring become available too.
| Feature | Basic Plan | Plus Plan |
|---|---|---|
| Video History | 60 days | 60 days |
| Video Sharing | Yes | Yes |
| Snapshot Capture | Limited | Yes |
| Professional Monitoring | No | Yes |
Subscribing to Ring Protect
Subscribing To Ring Protect
Getting on board with Ring Protect is a breeze. Follow these steps to subscribe.
- Create an Account: Set up a Ring account in the app.
- Select a Plan: Choose Basic or Plus, based on your needs.
- Monthly or Yearly: Pay monthly or save by paying yearly.
After the subscription, your Ring Doorbell reaches its full potential, making your home smarter and safer. The plan can easily fit into your budget and comes with a free trial period.
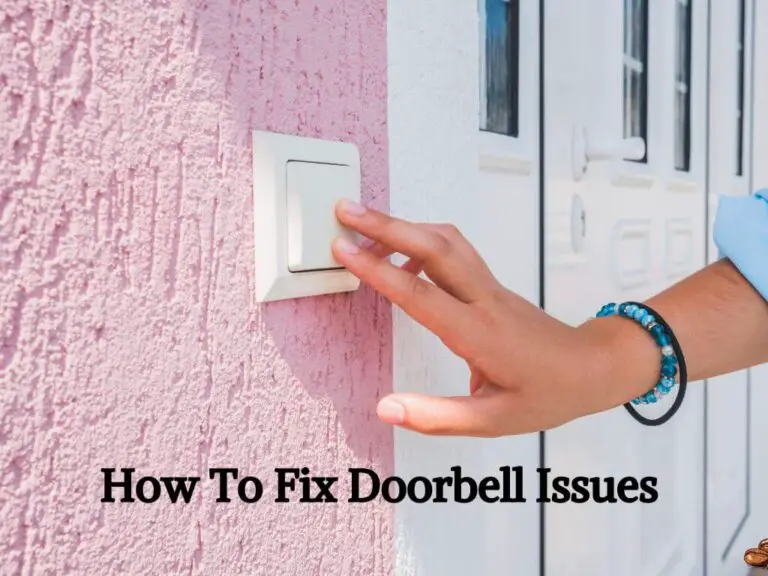
Maintaining And Troubleshooting Your Ring Doorbell
Keeping your Ring Doorbell in top-notch condition is crucial for long-lasting performance and security. Regular maintenance and swift troubleshooting can prevent common issues and ensure your doorbell works smoothly. Let’s dive into how you can best take care of your Ring Doorbell.
Cleaning And Caring For Your Device
To maintain your Ring Doorbell’s functionality, cleaning is essential. Dirt, debris, and weather conditions can affect its performance. Follow these simple steps:
- Turn off the power to your Ring Doorbell.
- Use a soft, moist cloth to wipe the surface gently.
- Avoid harsh cleaners or abrasive tools.
- Ensure the camera lens remains clear for optimal visibility.
- Dry the device completely before restoring power.
Common Troubleshooting Tips
Encounter an issue with your Ring Doorbell? Try these quick fixes before reaching out for support:
- Confirm the device has power – check the battery or electrical connection.
- Ensure Wi-Fi connectivity – a strong signal is vital.
- Update the Ring app and doorbell firmware for the latest features and fixes.
- Reset the Ring Doorbell by pressing and holding the setup button for 15 seconds.
- Contact Ring support if problems persist.
Regular check-ups and updates can save you time and keep your home secure.
Frequently Asked Questions On How To Install A Ring Doorbell
Can Ring Doorbell Be Self-installed?
Absolutely, Ring Doorbells are designed for easy DIY installation. The package includes all necessary tools and clear instructions. You can mount it within minutes using a drill and the provided screws and anchors.
Do I Need An Existing Doorbell For Ring?
No, you don’t need an existing doorbell. Ring Doorbells can work independently with a rechargeable battery. If you have existing wiring, you can connect it to your Ring for continuous charging.
How Do I Connect My Ring Doorbell To Wi-fi?
Connecting your Ring Doorbell to Wi-Fi is simple. Use the Ring app on your smartphone to find your home network and enter the password. The app will guide you through the setup process step by step.
What Distance Should Ring Doorbell Be From Router?
For optimal performance, place your Ring Doorbell less than 30 feet from your router. Walls and electronic interference can affect the signal, so the closer the better.
Conclusion
Installing your Ring Doorbell could be the upgrade your home security needs. By following the steps outlined, you’re now armed to set up the device with ease. Whether you’re tech-savvy or new to gadgets, the process is straightforward. Get ready to enjoy the peace of mind that comes with enhanced protection.